
Natural Look Makeup Tutorial // 10 Minute Makeup Routine
This shop has been compensated by Collective Bias, Inc. and its advertiser. All opinions are mine alone. #DaretoDarken #NeverGoNaked #CollectiveBias
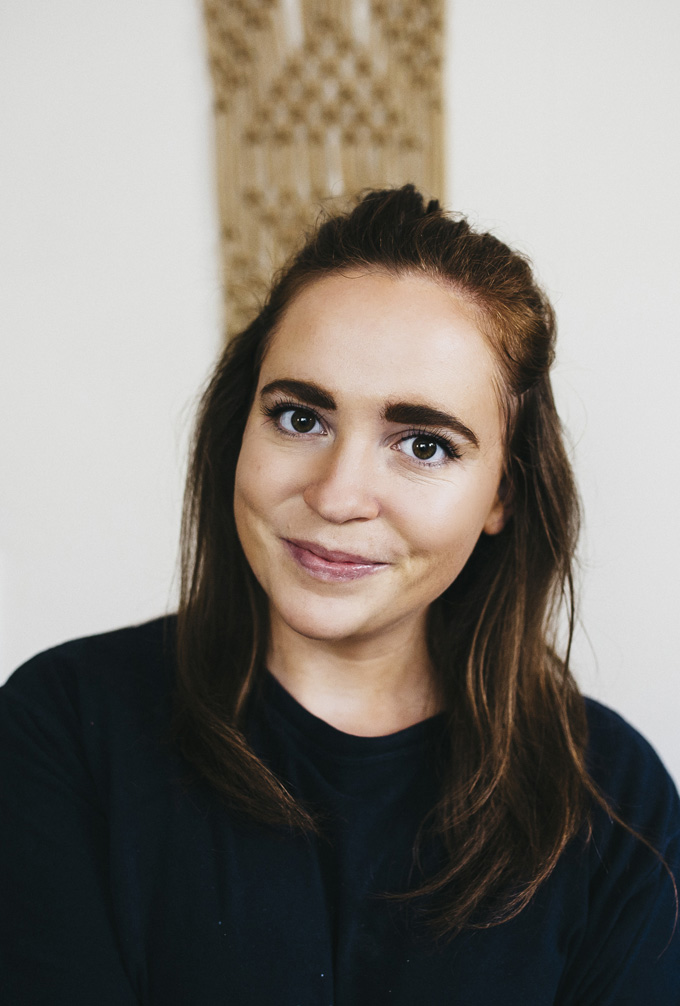
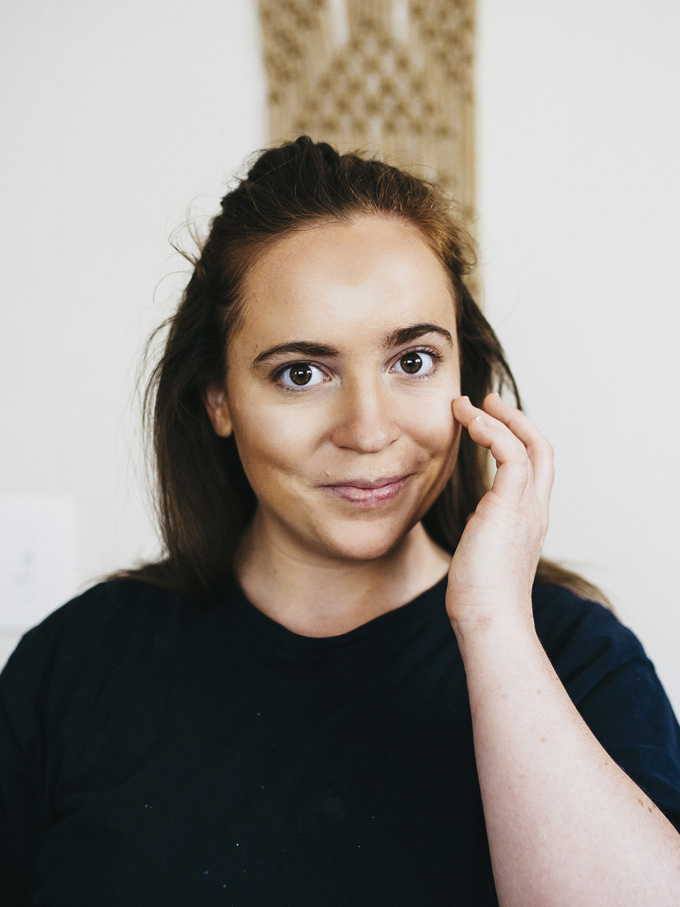
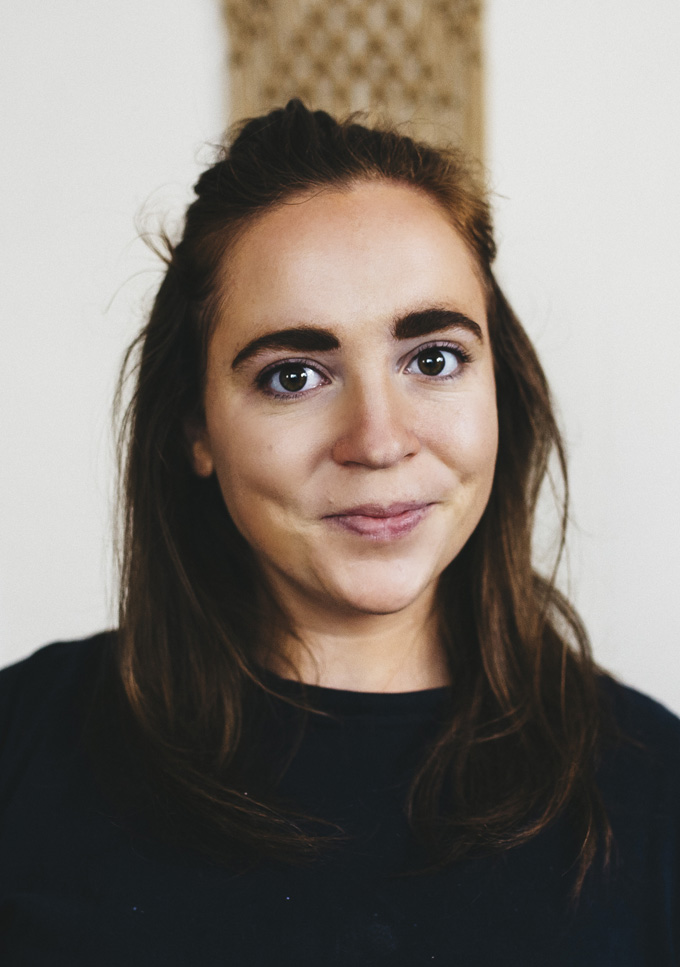
By now you have probably noticed that I am all about that natural makeup look. As a makeup artist I do enjoy the occasional face overhaul, but day to day you'll find me with hardly any makeup on, my hair in its natural state, and the most casual clothes I can get away with. So today, I wanted to share my most natural makeup tutorial, yet. It's the perfect routine you can use to get you out the door in under ten minutes, with maybe even a few minutes to spare!
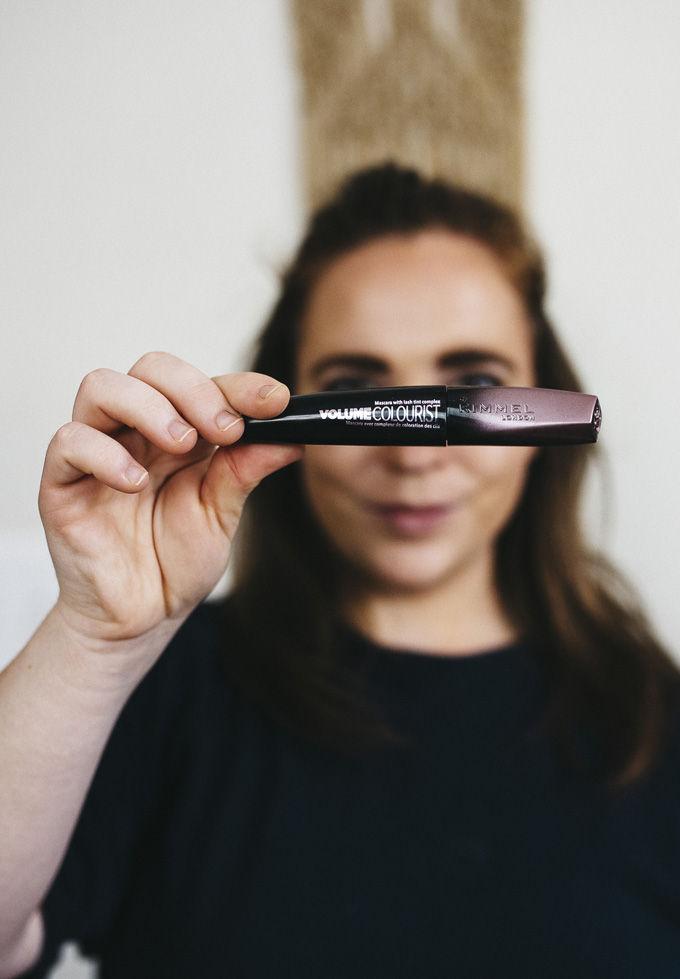
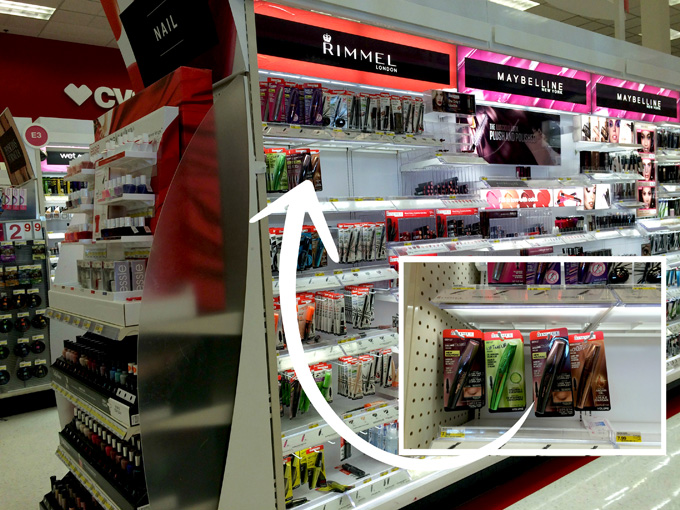
The best part about this look has to be the new
Rimmel Volume Colourist Mascara
from Target! This mascara not only makes your lashes look great, but it has a built-in, semi-permanent tinting-complex that begins building from the first application. When used everyday for a 2-4 week period, you will notice that your natural lash color has intensified with every application.
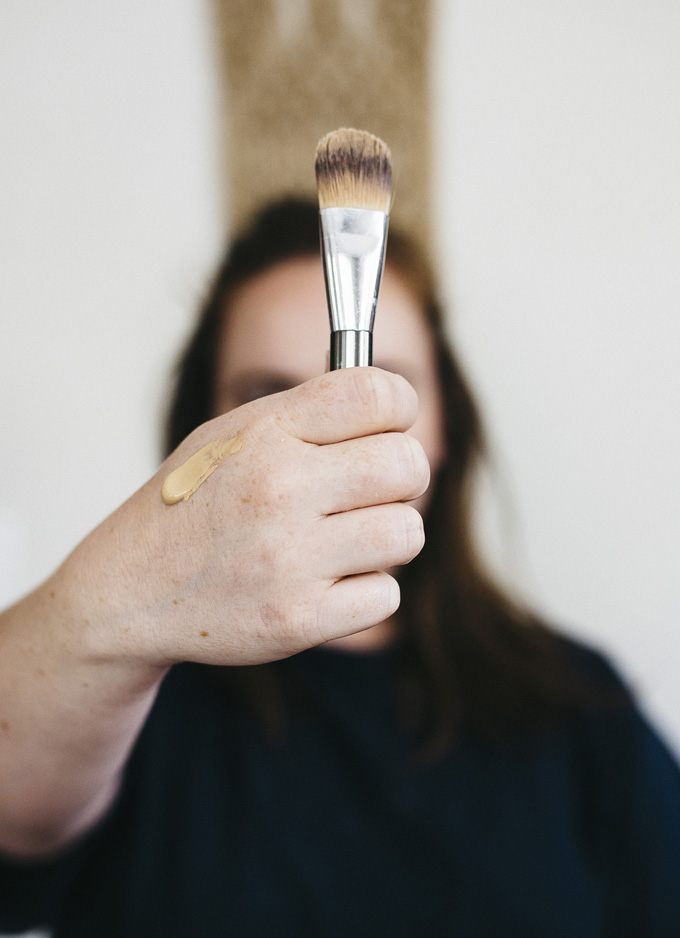
Step 1 - Apply a BB cream to your entire face and blend it down into your neck.
I like to use a foundation brush to apply my BB Cream, but a sponge or your fingers will work just as well. BB Cream is a great option, especially for Summer, because it is ultra lightweight and has a built in SPF.
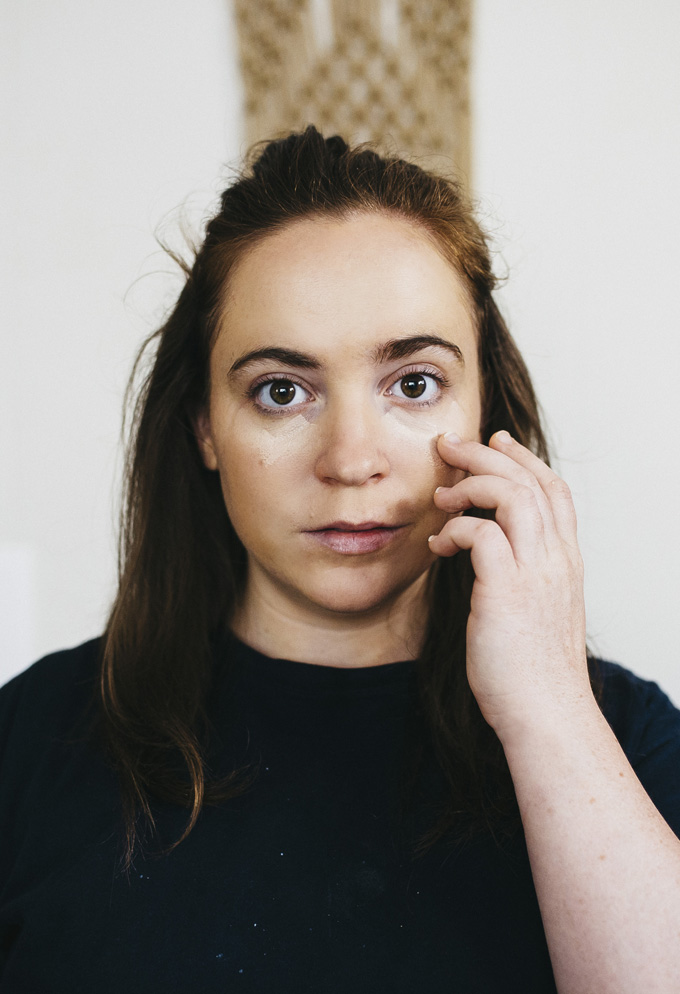
Step 2 - Apply Concealer
I like to keep this step simple, don't go overboard or you'll start to lose that natural look you're going for. Just apply a bit under your eyes, if needed, and use it to spot treat any blemishes.
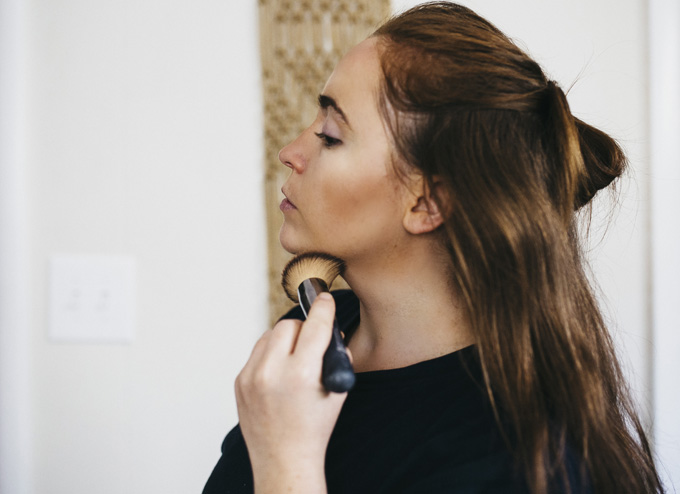
Step 3 - Apply bronzer using the rule of "3"
Use a large blending brush and apply your bronzer in a "3" shape. Begin at your forehead and brush out and down towards your ears, then in under your cheekbone, then back out and down around your jawline. Don't overdue it, you just want a nice "sun kissed" look.
Step 4 - Apply a highlighter
My highlighter is my favorite makeup tool. It adds so much to a face, whether you're going for a natural look or not. I like to apply it to the top of my cheeks, cupid's bow, down the bridge of my nose, and just a little in the center of my forehead. Then I blend everything together.
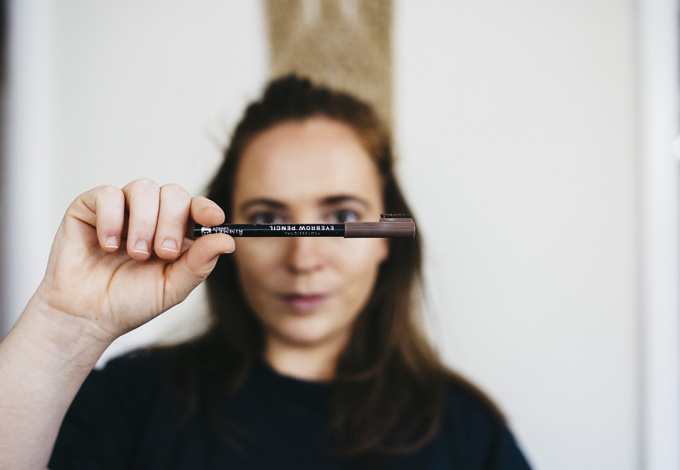
Step 5 - Fill in your brows
The eyebrows are the picture frames of the face. If you treat them well, they will never fail you! To start, you need to stop plucking. Wait, what?! You heard me... Stop. Plucking. Of course the occasional unibrow pluck is more than acceptable, but over plucking will get you no where. So let those bad boys grow, then fill them in using
Rimmel London's Eyebrow Pencil
in the color that best matches your natural hair color. And yes, I'm aware that I am holding the product upside down...
Use a "stipple" affect to keep your brows looking natural. DO NOT draw them on in harsh lines.
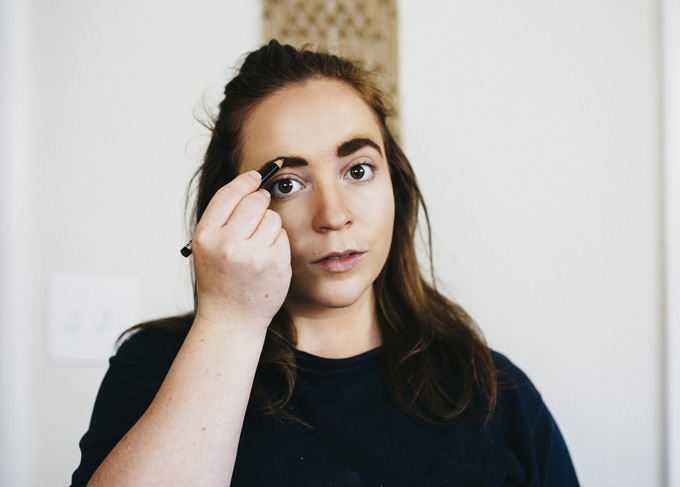
Then use the built in brow brush to comb them into place. I like to brush all my brow hairs straight up, then I comb them across.

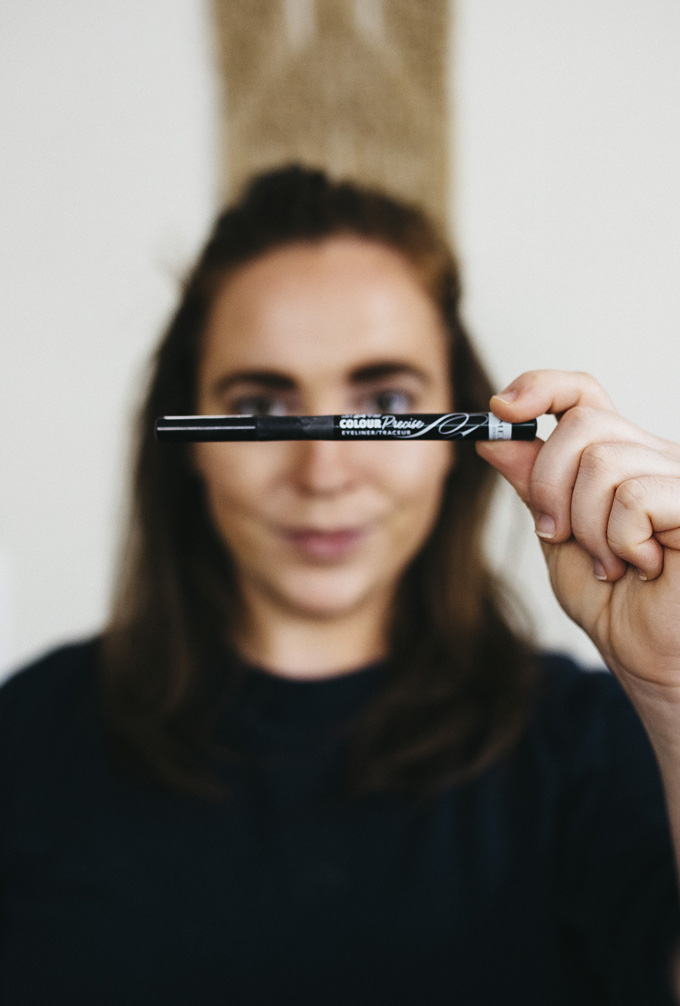
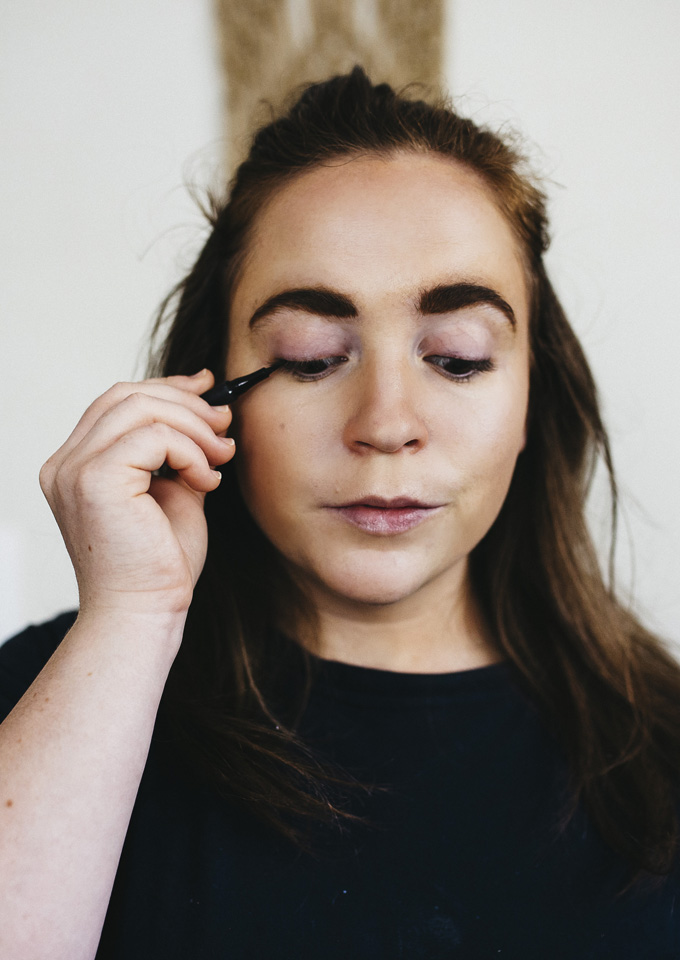
Step 6 - Tightline your eyes
Tightlining is a technique in which you use your eyeliner to fill in the extra space between each eyelash. It looks natural because you cannot see a drawn on line above the lashes, but it also makes your lashes appear thicker and darker. I like to use
Rimmel London's Colour Precise Eyeliner
.
Be sure to either get extra close to your mirror, or place one below you while you apply your eyeliner. Just dab it into each space across your upper lash line from corner to corner.
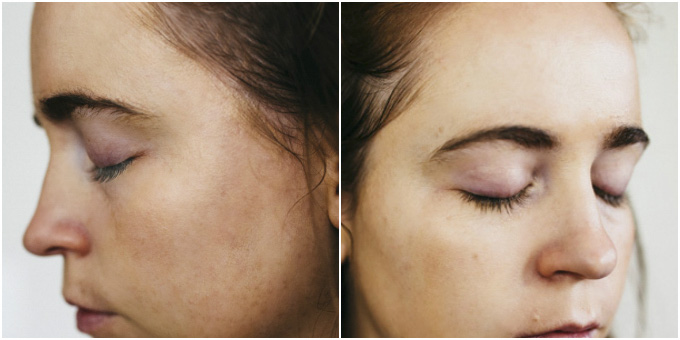
You can see in this picture, which is pre-mascara, that my lashes appear thicker and darker, just from the tightlining technique.
Step 7 - Apply one coat of mascara
I have been loving the
Rimmel Volume Colourist Mascara
for my natural looks. It goes on so smoothly and doesn't cause clumping or sticking. It really defines each lash and gets from root to tip with ease.
Next, throw on some lip balm and that's it! Your natural makeup look is complete, and you've got plenty of time to spare!

Here you can see a before and after photo showing the tinting affects of Rimmel Volume Colourist Mascara. I've been using this mascara everyday for the past two weeks and it has made such a difference! My lashes were not incredibly light, before; but they weren't very dark, either. Now, they appear darker and fuller, thanks to the Rimmel Volume Colourist Mascara!
I am so excited about the Rimmel Volume Colourist Mascara, it will definitely remain a part of my daily routine! If you're heading to Target, be sure to snag one of your own to try using
and receive 25% off all Rimmel Eye featuring Volume Colourist Mascara. Also, be sure to check out some other
!
What is your favorite makeup step that you never skip?